

Meeting High-Accuracy Quality Control Requirements of Gravure-Cylinder Making
How Think Laboratory ensures its gravure-cylinder making is controlled with an accuracy of 1 μm or better.
By Takuma Saito
Images courtesy of Think Laboratory

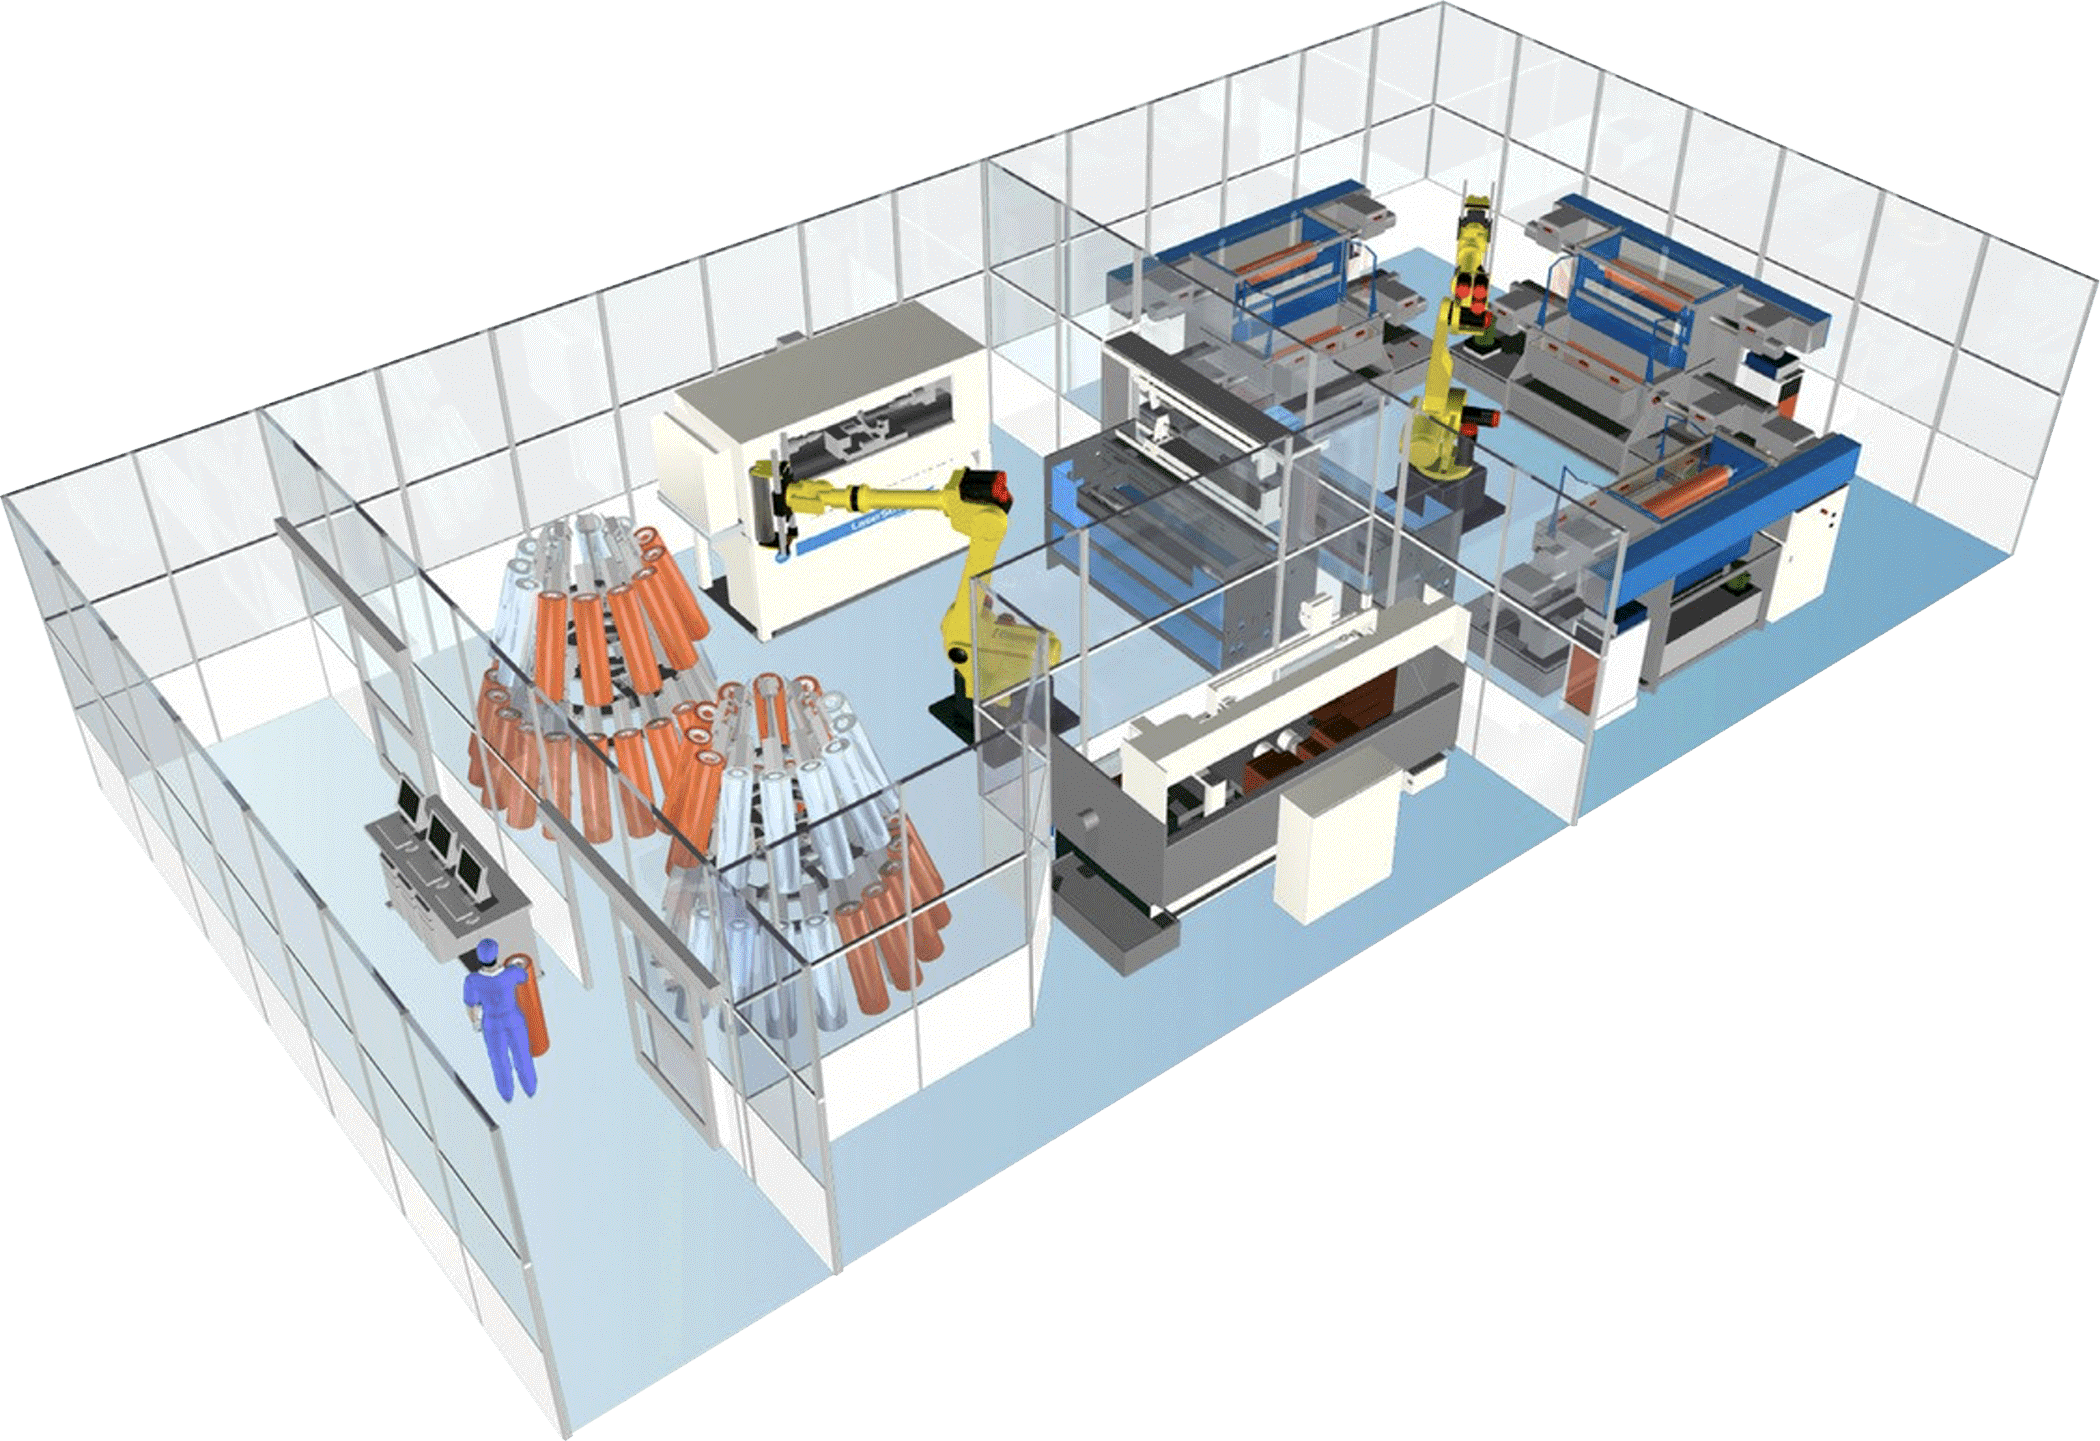
Illustration of a Think Laboratory FX3 automated gravure-cylinder making system installed at a customer’s site.
Since Think Laboratory launched its System 77 gravure-plate making machine in 1977, it has held more than 90% of the gravure plate- and cylinder-making market share in Japan. In the past, cylinders used for printing were engraved by artisans, but the widespread use of Think Laboratory’s gravure-cylinder making systems has made highly accurate and fully automated production possible at a low cost.
About Think Laboratory
Think Laboratory Co., Ltd., located in Kashiwa City, Japan, is an award-winning developer and manufacturer of the fully automated gravure-cylinder making system, one of its core products. Founded in 1966, the company is a leader in the digital printing field in Japan and around the world, offering flexible packaging solutions to more than 250 companies in 38 countries. Its customers include gravure-cylinder suppliers and printing companies.
Think Laboratory’s gravure-cylinder making systems use photolithography to produce printing cylinders. The printing plates, cylindrical in shape, enable maskless exposure to light or laser exposure. The laser provides a resolution of 3200 dpi × 12800 dpi with each beam focused on a tiny space of 2 μm × 8 μm. The required accuracy is very high, 1 μm or better.
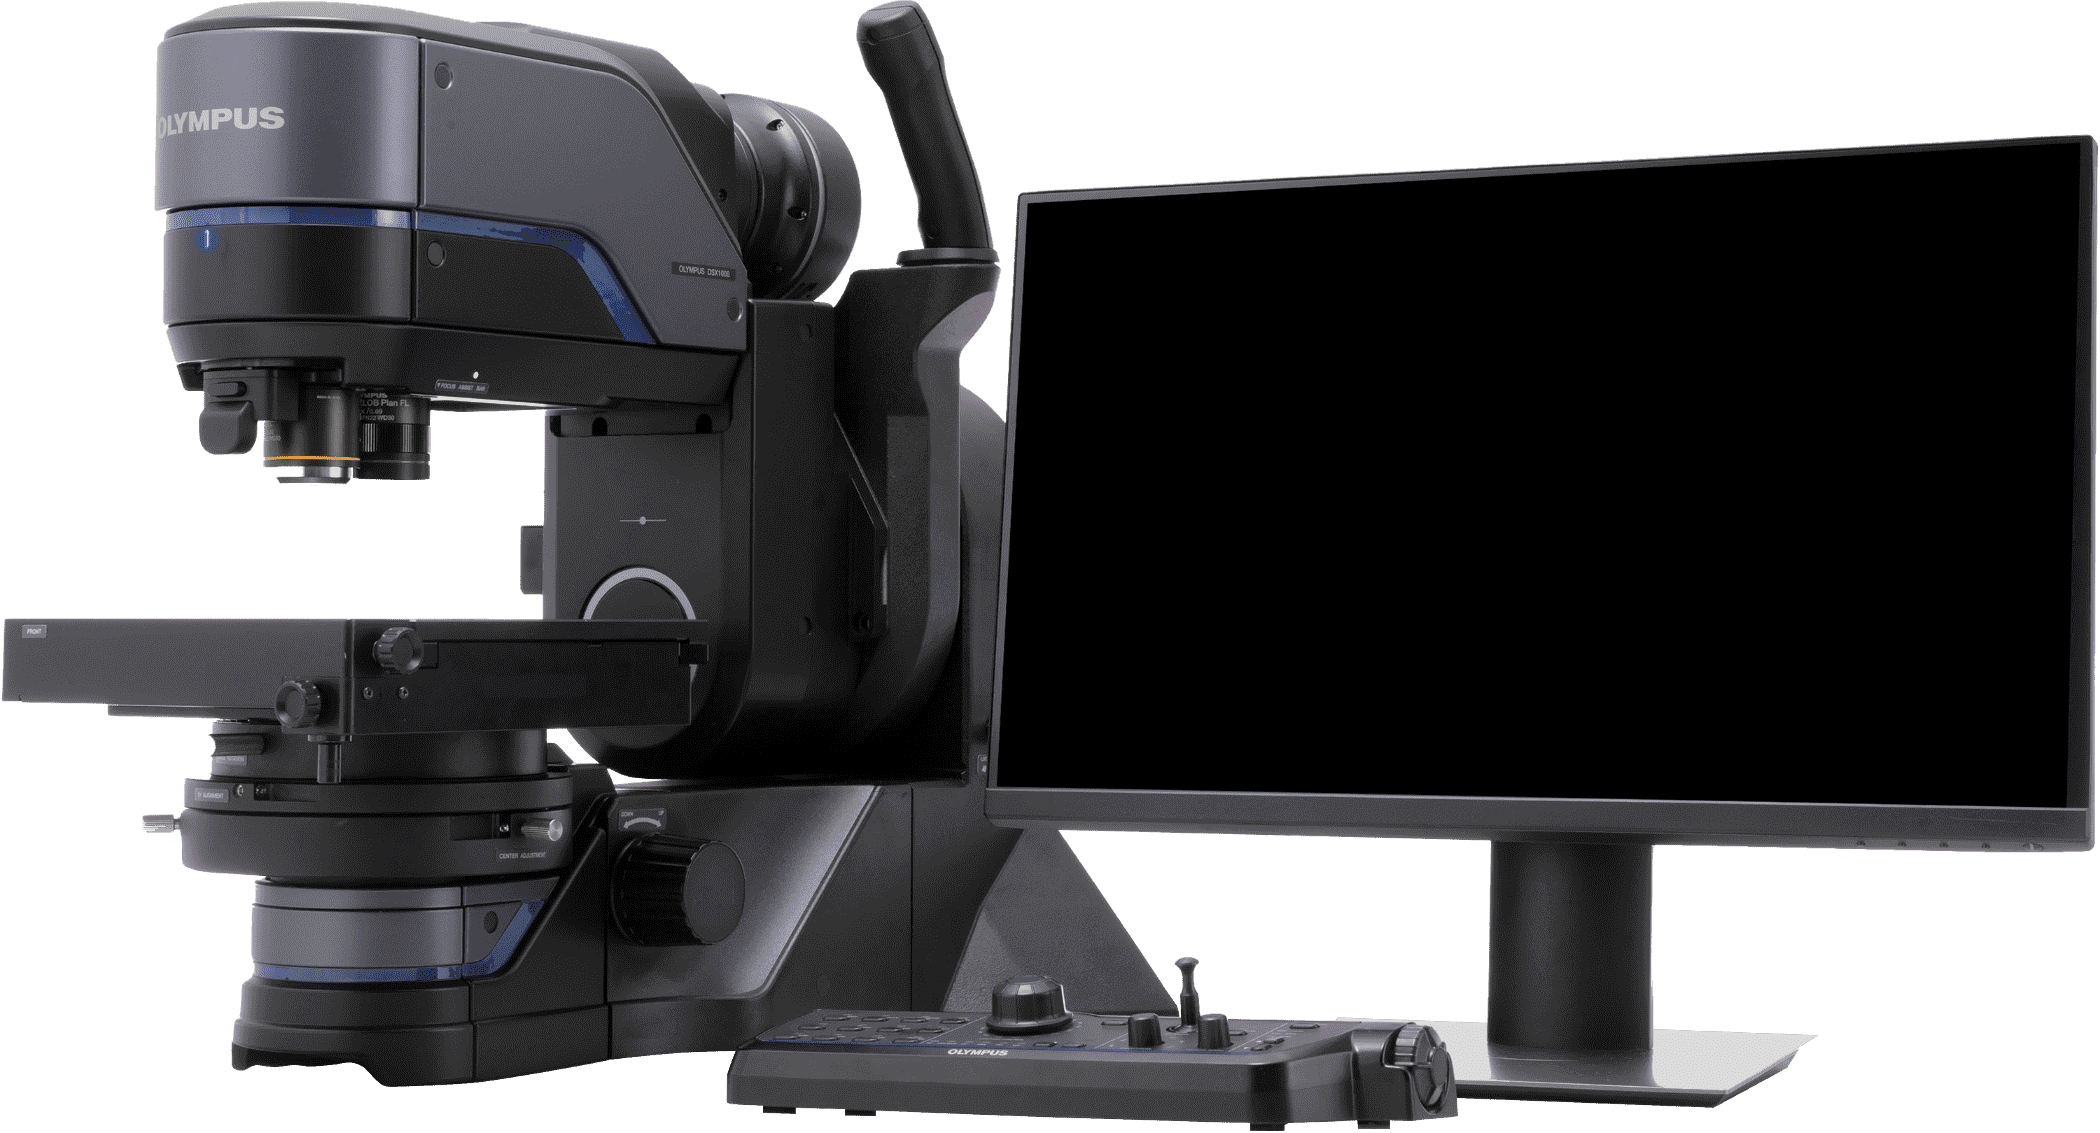
In 2016, Think Laboratory integrated the Olympus DSX1000 digital microscope into its quality control (QC) process to meet the company’s high accuracy requirements, and it is striving to achieve further degrees of accuracy to meet its customers’ requirements for high-quality printing.
Shintaro Sugawara, director and leader of the development department, explains what is at stake during a quality control verification, “For example, the smallest pocket that collects ink is approximately 100 μm × 100 μm in size. The slightest difference causes variations in ink concentration. The cosmetic and automobile industries require high-quality printing that gives their products a premium feel, so even slight color variations caused by only a 1% difference in the pocket size are strictly checked.”

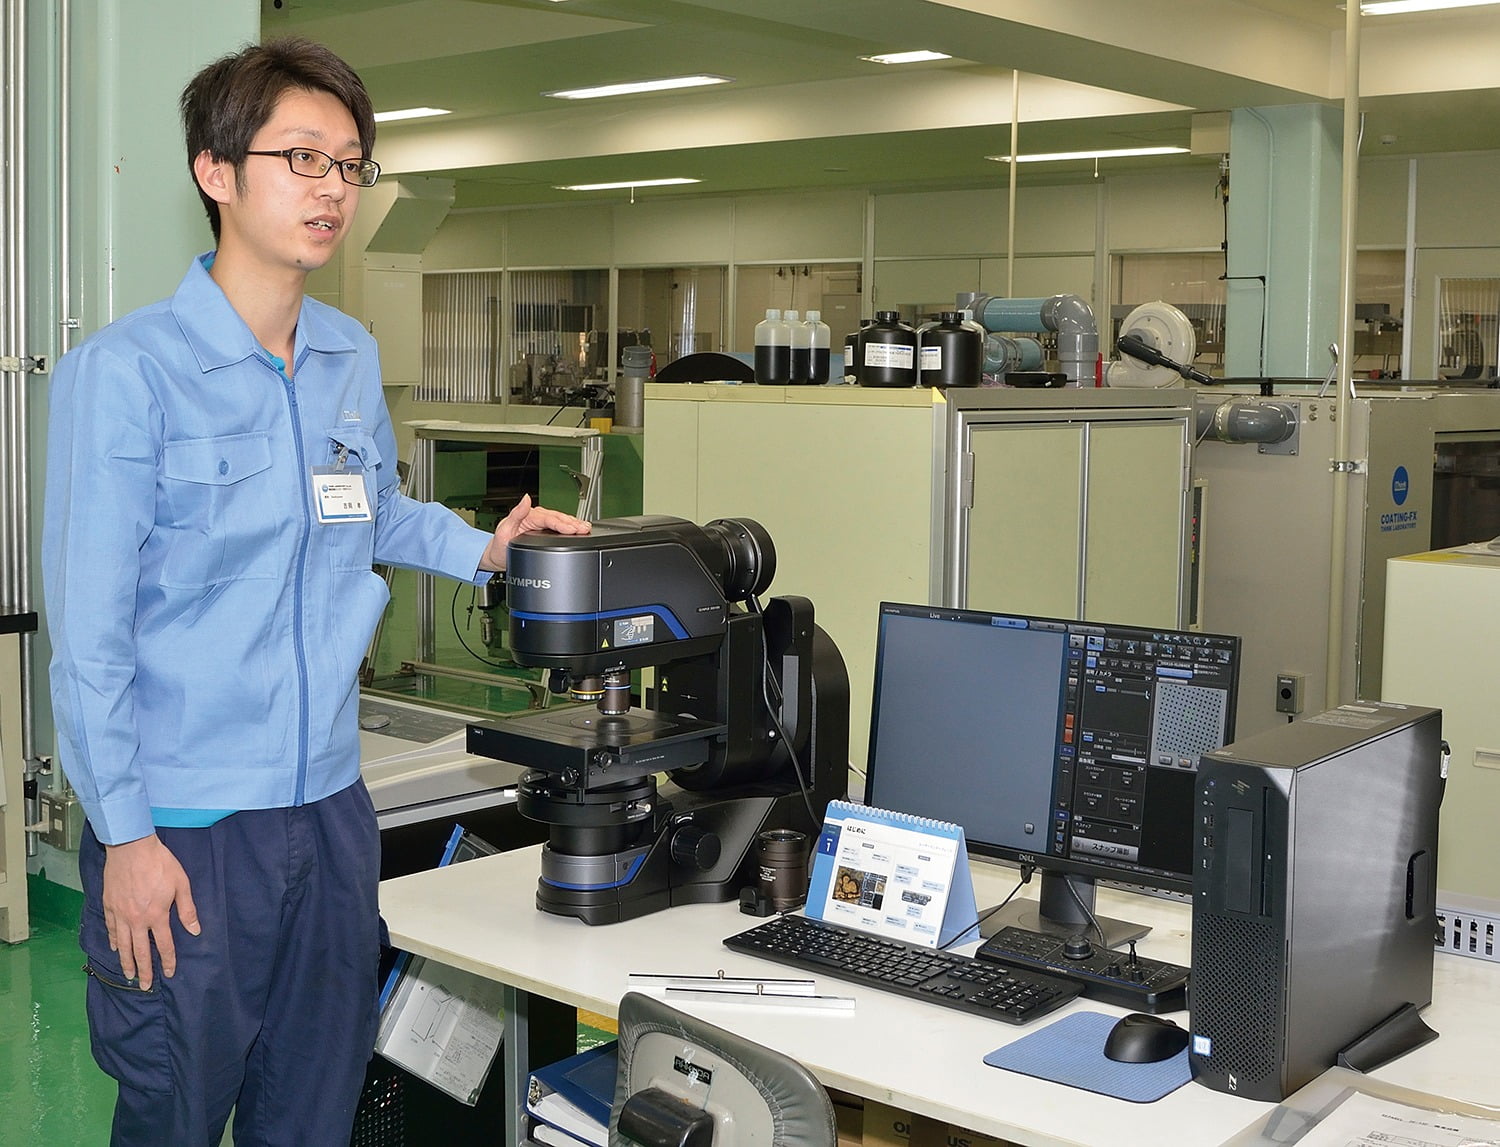
Takashi Yoshioka, team member in Think Laboratory’s development department and a principal user of the DSX1000.
Benefits of the DSX100 for Think Laboratory
If any defect is detected in the samples printed with the cylinders manufactured using the company’s gravure-cylinder making systems, the company collects the gravure cylinder and the printing sample from the customer to analyze the cause of the defect.
For preliminary analysis, the detected defect is observed using the DSX1000 microscope to help obtain an initial determination of the cause, which guides subsequent analysis performed using high-magnification observation and elemental analysis with an electron microscope. The identified cause of the defect is written in a report to be submitted to the customer as feedback.
A difference of only a few micrometers in engraving on the cylinder can result in blurred words or color errors, so stringent standards are enforced for the analysis. Takashi Yoshioka of the Think Laboratory development department says, “Demand for high-quality printing has been increasing recently, so our quest for higher accuracy in analysis and our expectation of higher efficiency have led to the implementation of the DSX1000 microscope.”
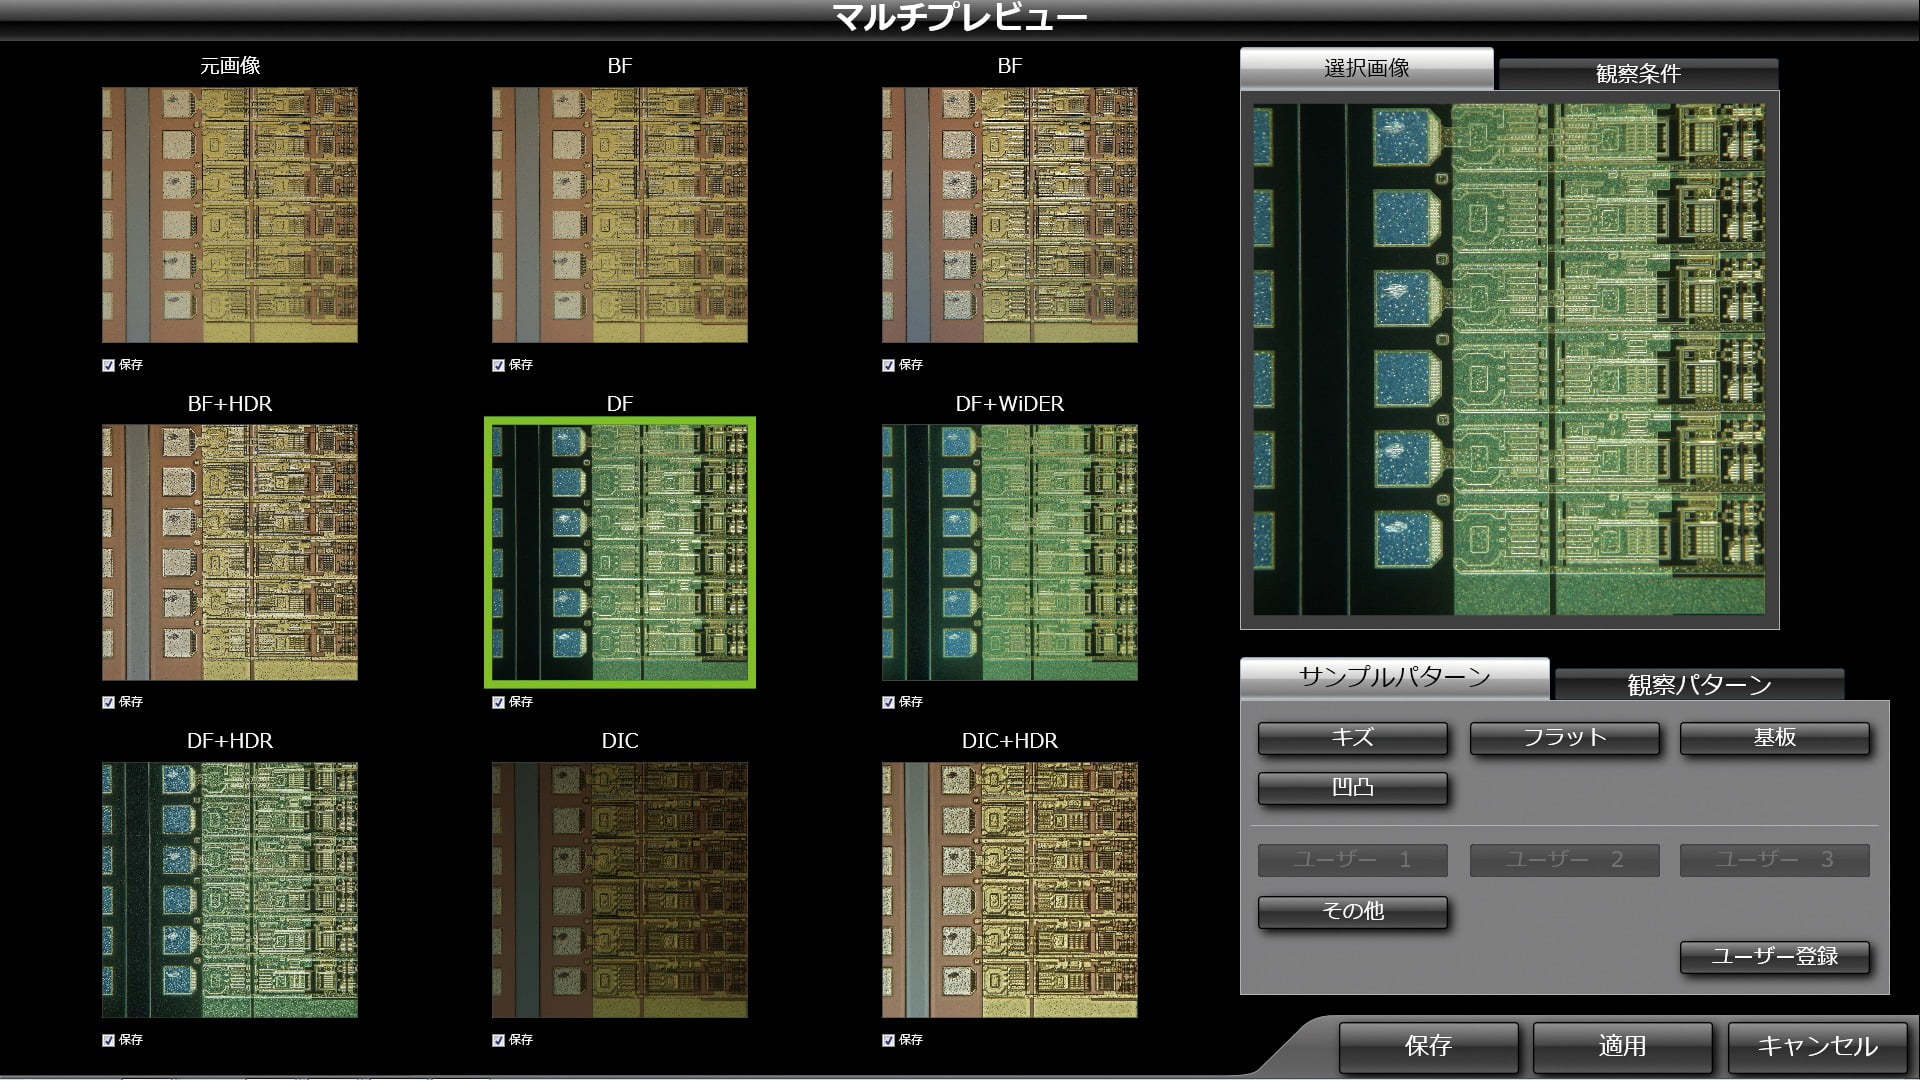
Yoshioka, a principal user of Think Laboratory’s DSX1000 microscope, cites two functions that he says are impressive: the function to switch between multiple observation methods with a single click without losing sight of the object being observed or analyzed, and the multiple preview function, which enables the user to compare observation method images and select the best one.

The DSX1000 also supports up to six observation methods to inspect various samples: brightfield (BF), oblique, darkfield (DF), mix, polarization and differential interference.
Even if the same sample is observed with the same microscope, the observation image can vary depending on the observation or illumination method. For example, brightfield is suitable for observing flat samples, whereas with the darkfield method, light that is irradiated at an incline on the sample is reflected or scattered, causing any scratch to appear bright in the dark visual field. The user can choose from among the DSX1000 microscope’s six observation methods to select the best one. The method can be changed by pressing a single button on the console.
The microscope also sports a multiple preview function. By pressing a single button, you can view several sample images captured under different conditions for side-by-side comparison on the screen.
“The method that works best for each sample can be selected from the different images displayed. This function is quite useful,” says Yoshioka. “With conventional microscopes, observation conditions must be adjusted precisely each time to capture two types of images: an image with emphasis placed on its visual appearance to use on reports and another that is suitable for conducting a failure analysis.
“The DSX1000 has eliminated the need for this precise adjustment and saved a huge amount of time spent on tasks, from running analyses to reporting,” he adds. “The working environment has been improved with no burden on this precise adjustment.”
The type of lens used in analysis work varies depending on the sample to be observed. Both Sugawara and Yoshioka say they were satisfied with the Olympus lenses.
Yoshioka says he appreciates the usability of the DSX100’s sliding nosepiece and exclusive lens attachments, which enable the user to quickly switch to the lens that suits the purpose as well as change the magnification, ranging from the macro to micro level. “Being able to replace the lens instantly is convenient when we want to adjust the magnification after changing the sample. It is particularly effective in observing and analyzing various samples because conducting a low-magnification overview observation may be useful in detecting a defect quickly. With conventional digital microscopes, replacement is cumbersome and time consuming because the lens needs to be screwed into a hole, but the sliding design of the DSX1000 microscope makes lens replacement easy and eliminates the concern that the lens may be dropped.”
Saving Observation Parameters Saves Time
Think Laboratory’s expectations were high regarding a certain feature of the DSX1000 microscope — the function to retrieve observation conditions. The ability to analyze different samples using past observation conditions can be very useful. Each image file recorded in the DSX1000 microscope contains data on the parameters used for observation, such as the magnification, illumination method and camera settings. These conditions can be retrieved by simply clicking the image. This function helps eliminate the need to search for the optimal imaging conditions each time. It also prevents variations in observation images among multiple operators as well as the failure to detect defects, enabling better analysis to be performed.
Overall, implementing the DSX1000 digital microscope into the gravure cylinder quality control process has helped Think Laboratory meet its accuracy demands and improve efficiency.
